Heated Floor Electrical Installation
Heated floors are one of the most satisfying upgrades in a bathroom or kitchen renovation. We handle all the electrical — from the dedicated circuit to the thermostat wiring — and coordinate with your tile contractor so the install goes smoothly.

Typical Installation Time
The electrical portion of a heated floor installation is typically completed in one day. This includes the circuit, thermostat rough-in, sensor conduit, and connections. Tile work and system commissioning are coordinated around the tile contractor's schedule.
Heated Floor Electrical Installation
Electric heated floors work by running a low-voltage heating cable or mat embedded in a thin-set or uncoupling membrane below your tile. The electrical side — the part we handle — includes a dedicated circuit from your panel, the thermostat, the floor sensor, and all connections. We work closely with your tile contractor to make sure the electrical is ready when they need it, and that we can complete our final connections after the tile is done.
Schluter Heated Floor Wiring
Schluter Ditra-Heat is one of the most commonly used heated floor systems in Toronto renovations. The mat sits in the uncoupling membrane and connects to the Schluter thermostat. We install the dedicated circuit, run the thermostat wiring, install the floor sensor conduit before tile goes down, and complete the final thermostat connection after. We're familiar with the Schluter system and can coordinate directly with your tile installer.
Thermostat and Sensor Setup
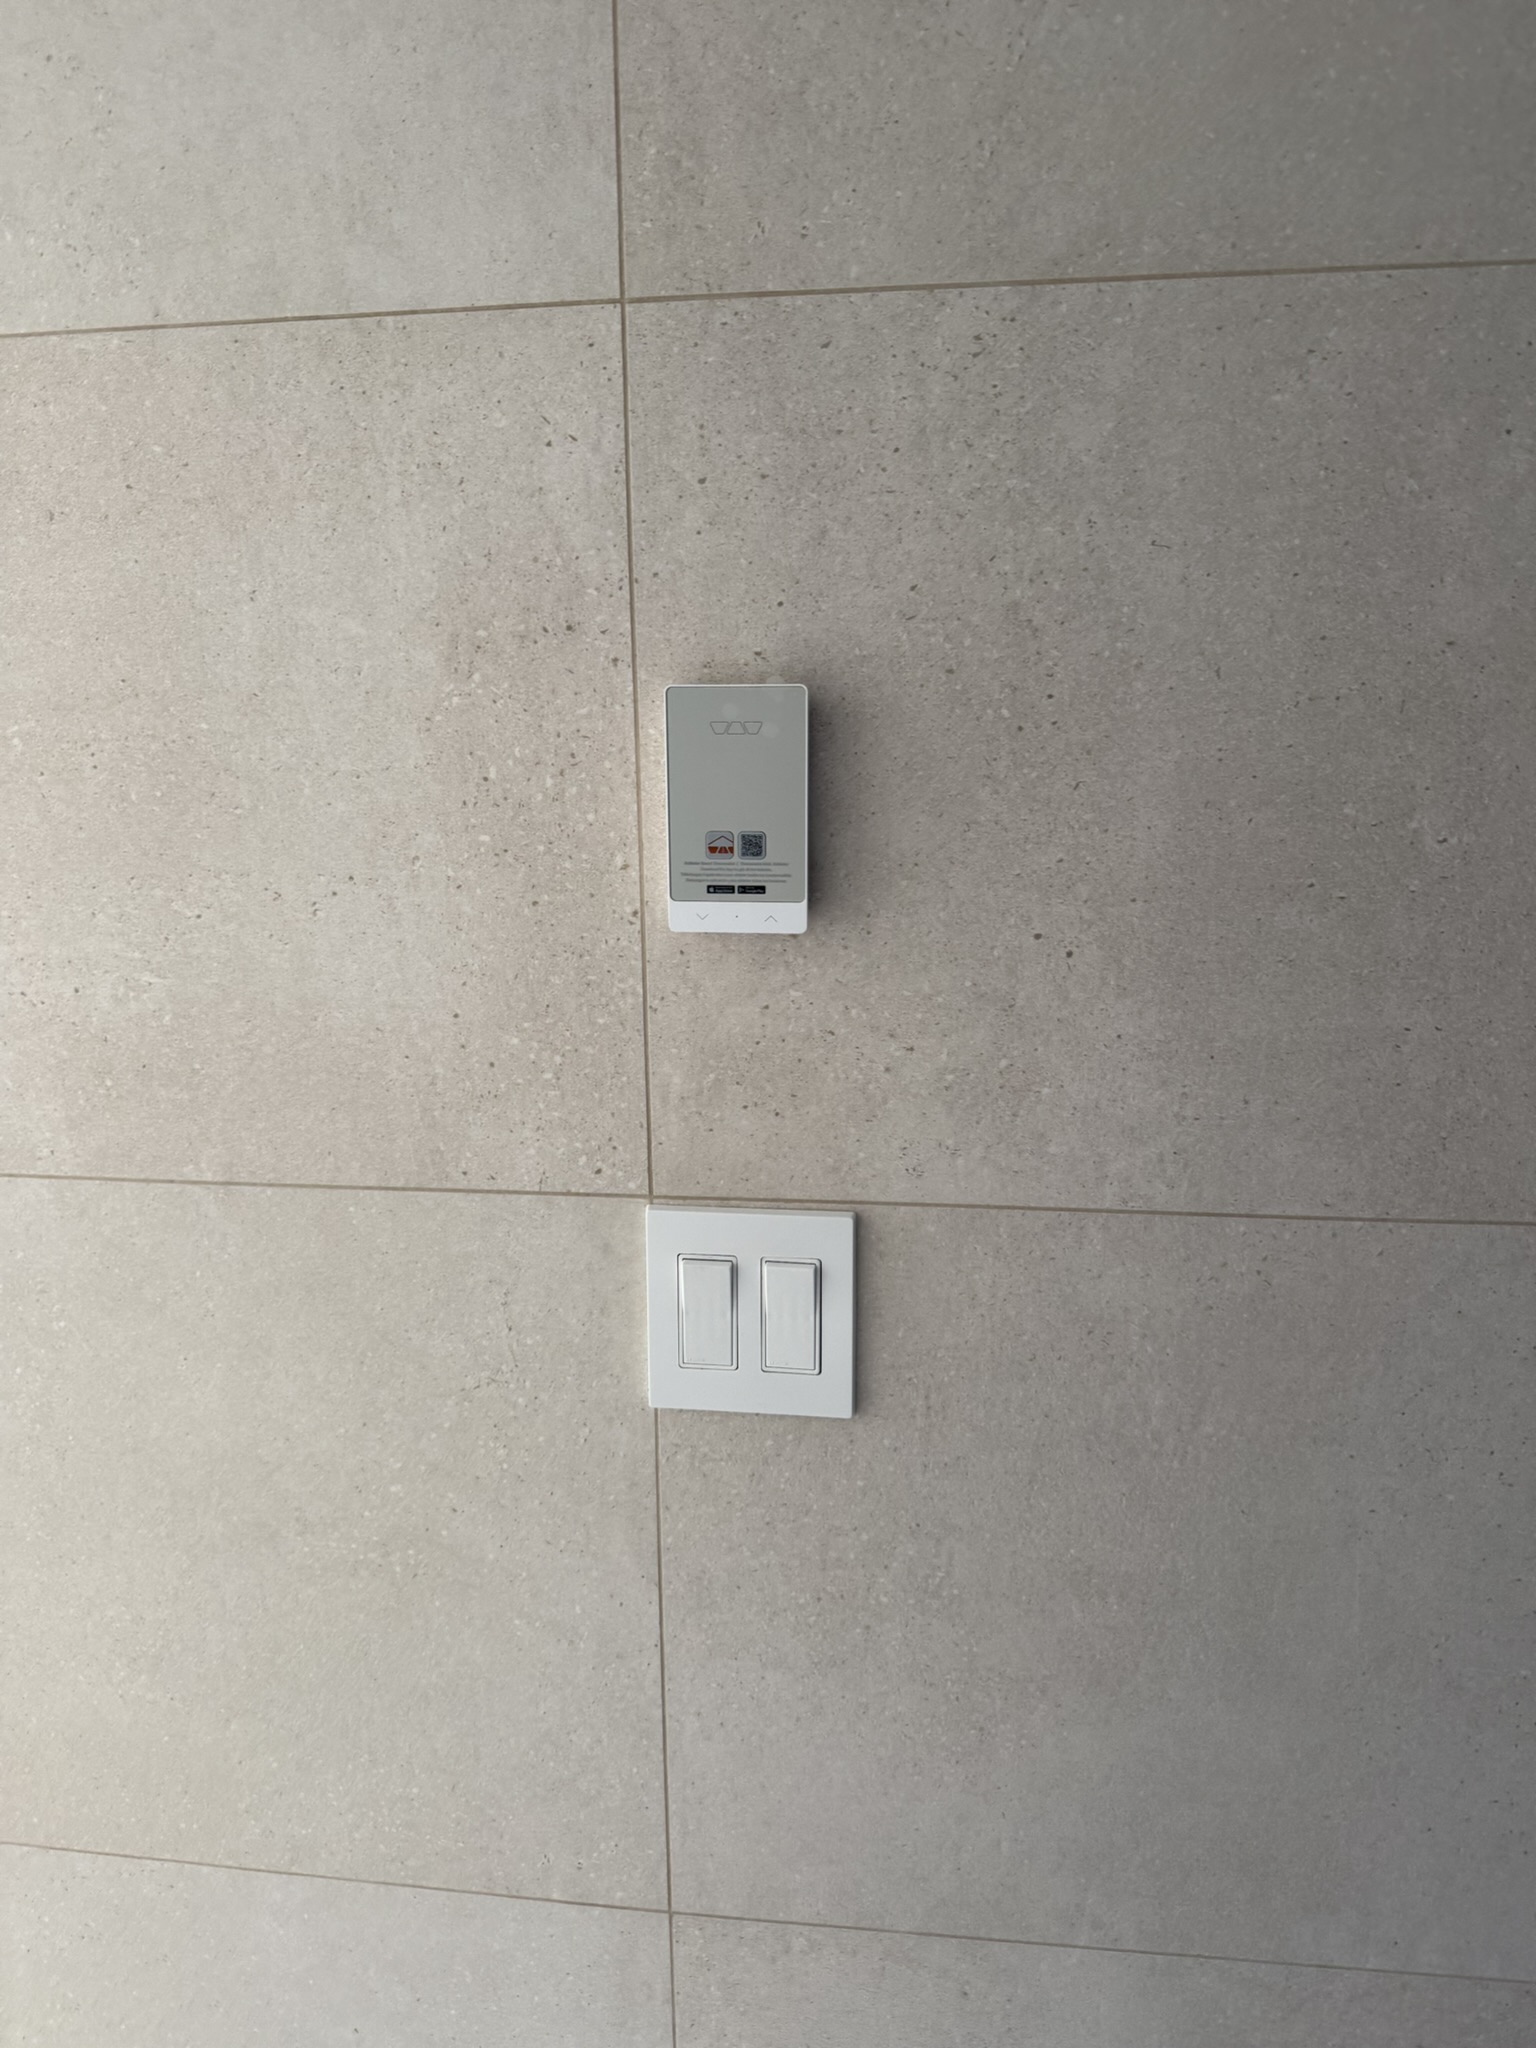
- Thermostat location planned with you — typically on the wall near the bathroom switch or at a convenient height.
- Thermostat box rough-in installed before drywall in the renovation.
- Floor sensor conduit installed in the tile substrate before tile is laid — allows sensor replacement without disturbing the floor.
- After tile completion: thermostat connected, sensor inserted, system tested.
Testing Before, During, and After
We test the resistance of the heating cable or mat before, during, and after installation. This confirms the element hasn't been damaged during tile work. A damaged heating cable that gets tiled over is a significant and expensive problem — proper testing at each stage catches issues while they can still be fixed.
GFCI Protection
Heated floor circuits in bathrooms and wet areas require GFCI protection under Ontario Electrical Safety Code. We apply GFCI at the breaker or thermostat as appropriate for the installation.
How the Work Is Done
- 1Confirm the heated floor mat or cable layout with the tile contractor.
- 2Install thermostat rough-in box in the wall at the agreed location.
- 3Run a dedicated circuit from the panel — wire gauge and breaker sized to the mat/cable load.
- 4Install floor sensor conduit or sleeve in the tile substrate area before the tile goes down.
- 5After tile is complete: connect the heating cable or mat leads to the thermostat.
- 6Install floor sensor into the conduit — positioned correctly between heating cables.
- 7Test resistance of the heating element before, during, and after tile install.
- 8Connect thermostat and provide GFCI protection per code requirements.
ESA Permit & Inspection
All electrical work in Ontario requires an ESA permit. We pull the permit and coordinate the inspection — you don't have to manage any of that. Every job is done to Ontario Electrical Safety Code.
Ready to get started?
Call 647-835-7757Frequently Asked Questions
Ready to get started?
LET'S GET YOUR PROJECT DONE RIGHT
Call or text us at 647-835-7757 — or fill out our quick quote form for a free remote estimate.